Candle tutorial
In the miniature group on Facebook that I'm in, it was a woman who said that you could make candles in cut straws. I decided to try to make them. I hope you understand my description. It's not that complicated, but it can get pretty messy ...

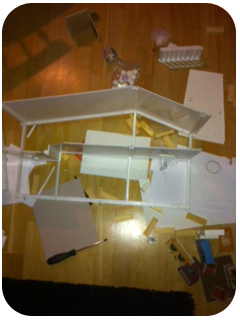
1 Light some real candles. I had three of them but if you want to do a lot of minicandles at the same time it's good to have more. Use a sheet of paper or anything else you can throw away later (It gets very messy) Cut the straws in different lengths depending on how long candles you want to make.
2 Pour some stearic on the paper and hurry to set up the straws before it solidifies.
3 Cut thread that will be the wick.
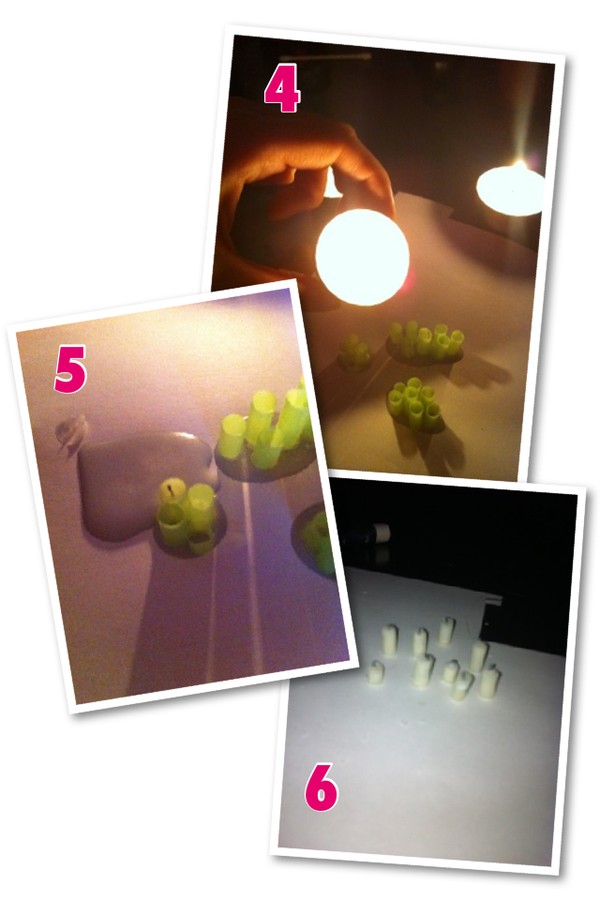
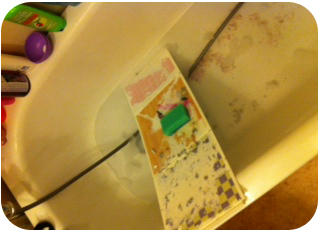
4 Pour the stearic into the straws. Fill up all and wait a little while before putting in the thread.
5 Add the thread. I found that if you lay the end of the thread in stearic and pinching the ends so the end gets hard, it will be easier to put it down the straw, but you can test what works best for yourself. Move the thread to the center the more the stearic hardens, and you get them well positioned.
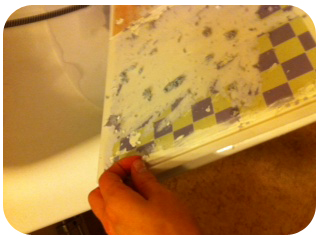
6 When the stearic has hardened, take them away of the paper. Push out the candles from the straws. I used a tool with a small ball at the tip. Then it would be easy to push out the lights of straws.
Hope you found this helpful!
Christmas gifts

I always have to get an outlet for my creativity and I LOVE Christmas when you are able to do lots of lovely and special gift wrapping solutions. One year I had wrapped a package to my little brother and put on a light trail run by battery. So when I would put it under the tree so I lit the same time and it was a nice decoration. But it's a bit sad that when you spent so much time on the packaging itself as you open the package after all then, and then you have to throw away all the decorations.
Today I´ve printed a lot of miniature Christmas paper, labels, Christmas cards, boxes, etc.
So it'll be fun with my first Christmas in the miniature world. Then I can make Christmas gifts thats not meant to be opened, and does not take lot of space. =)
My projects right now
I have made a table and a mirror that I put up in the hall.
I'll make candlesticks and some accessories that should be on the table also.
Another project I'm doing right now is Christmas decorations.
I´m printing christmas wrapping paper, labels, boxes, and other things that have to do with Christmas.
We also have a Christmas Swap on our Facebook group right now. It went really well with the first swap I organized, so now we have our second.
I have decided that I will have giveaways here on the blog for my new readers.
It's really nice that so many people follow me and my miniatures.
Please comment my posts more so I may know who you are =)

Two sofas

castle
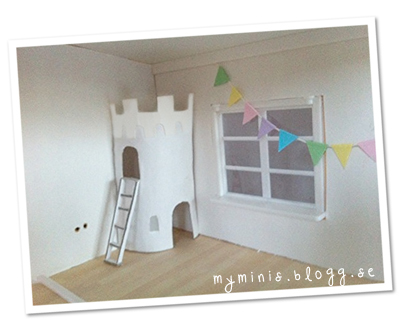
When my son was little and I would decorate his room, I found this castle on the internet and absolutely fell in love with it! I was looking where to buy it and found it. But it cost 6000 SEK so there was no castle for me (my son). Instead I he got a bunk bed with a slide.
But the castle is still in my head. It´s so nice! I still want one of those in my son's room. I've been thinking of building one myself, but now that I would decorate the doll house, I realized that I can build it in miniature! I was so glad I could finally decorate with one of those even if it is only in miniature =)
Mine is not done yet, Im going to paint the steps so that the whole is white, then I put in floors and pillows and a lamp inside =) But this is how it looks so far:

While I was watching TV ...

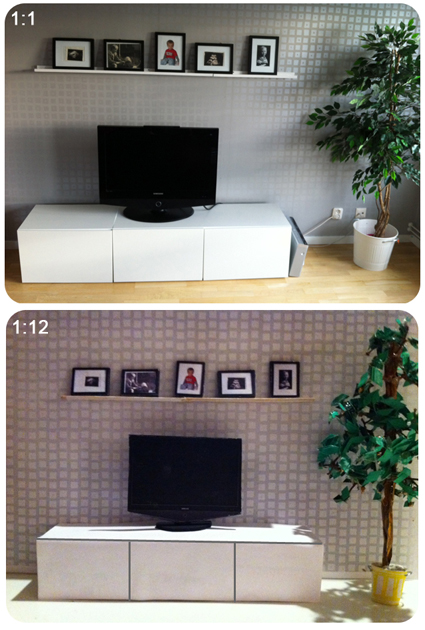
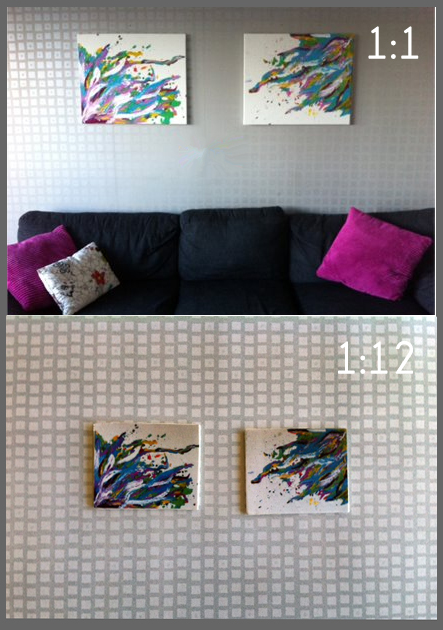
My livingroom 1:1 and 1:12
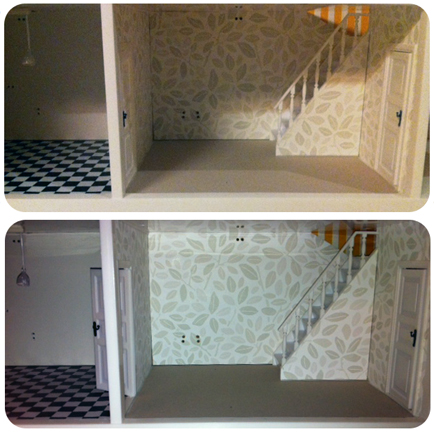
Wallpapers and floors
The pictures is first without lighting from the camera, and then with. It´s so dark in my apartment right now so the colors didn´t came out right.
Renovation

Dollhouse

Photos
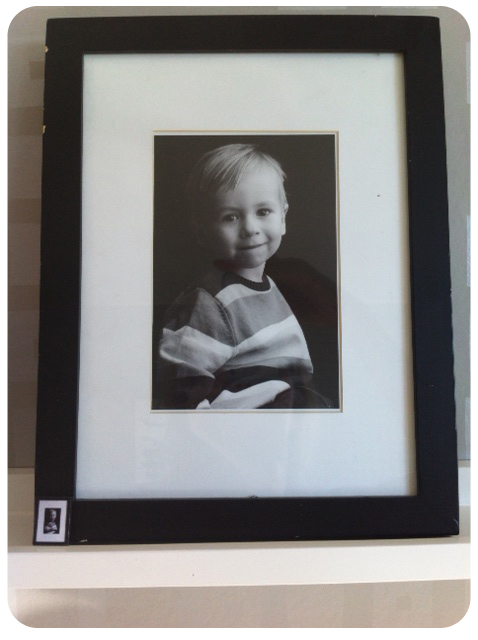
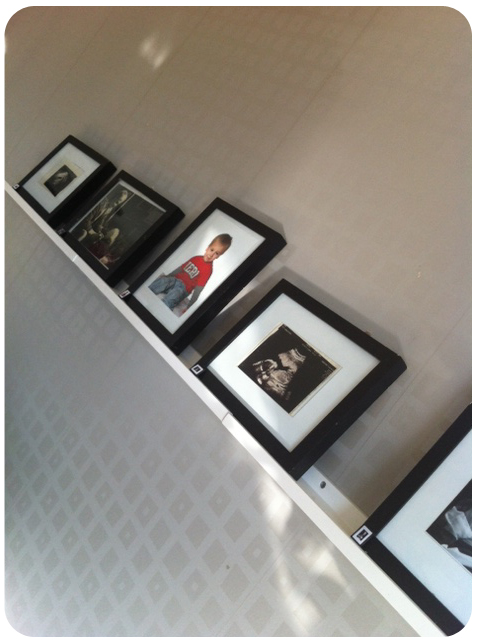
This is the photos I have in the livingroom.
Here you can see the photos in real scale and in miniature scale =)
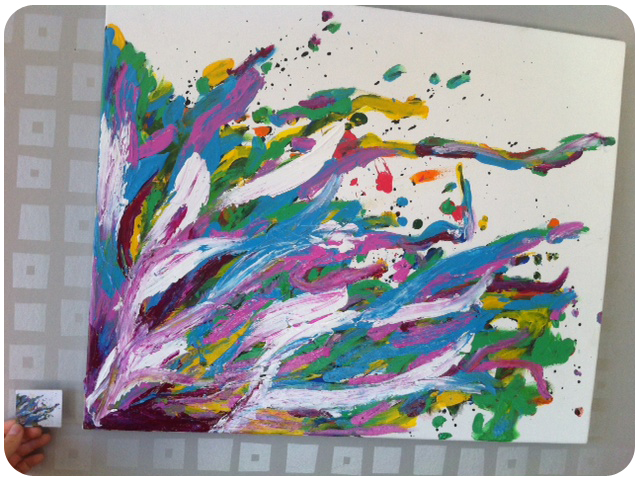
Paintings
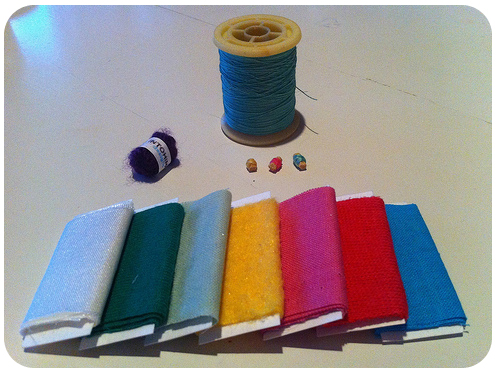
Fabrics and treads
I got sunstroke. I have a fever but I wanted to make a few miniatures.
When the drowsiness subsided, I began making fabric "rolls", balls of yarn and tiny spools of thread.
I also started making shoes out of clay that will be in the walk-in-closet.
If I manage to make the shoes (it was quite difficult with this type of clay, it probably works better with polymer clay) I'll post a description how to do them so that you too can make small high-heeled shoes =)
Fairy costume